How to Void A Payment


How to Refund A Payment

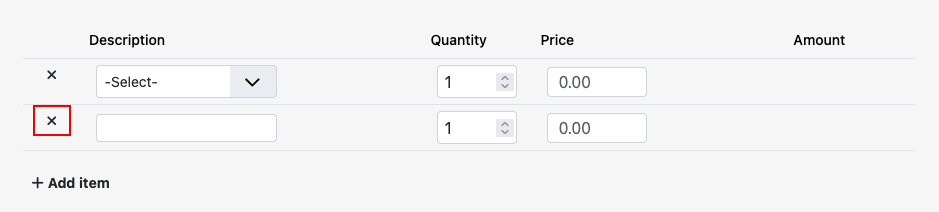
How to Submit An Invoice - Option 1
(Enter Description and Pricing Manually)


How to Submit An Invoice - Option 2
Add Category, Product, and Selecting Product/Service

Click My Profile in main menu, scroll down to Company Logo. 
Click Browse button under Company Logo navigate logo stored location on the
computer and select logo. ![]()
Click Upload Now to complete the process.
Note: The logo will be resized based on 175px width.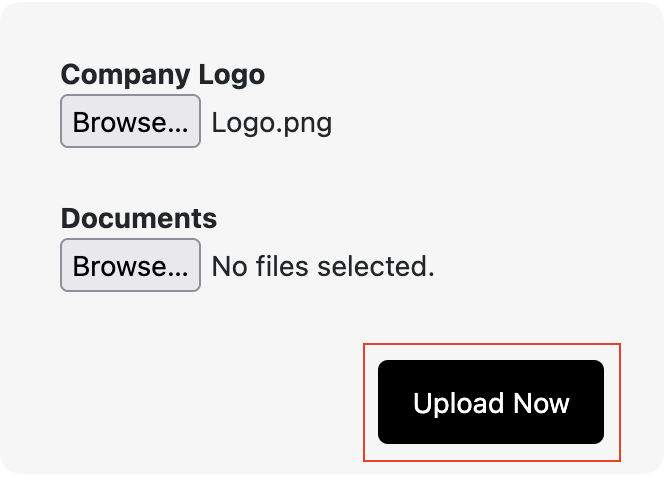

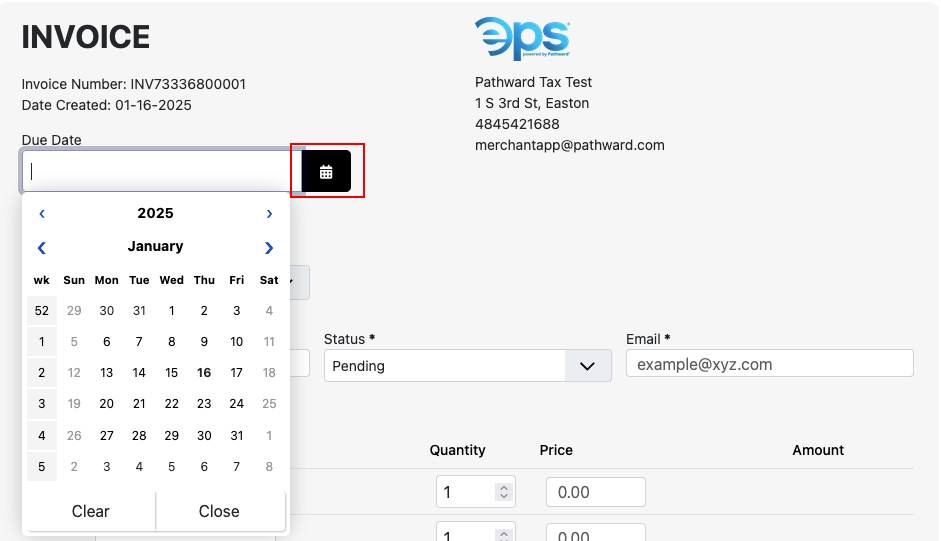
Click the Calendar icon to open Calendar view and select Due Date.
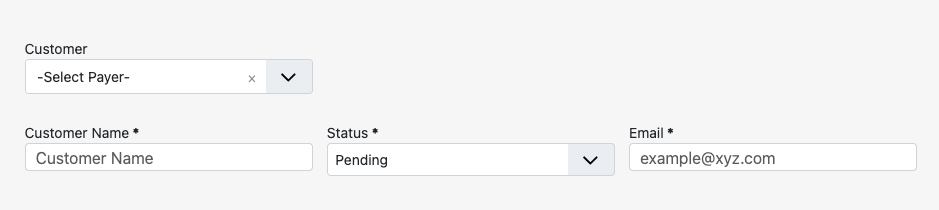
Click Select Payer drop down in Customer field. Select an existing customer (if exist) or select Add new customer
to enter data directly into form.
Note: Existing Customers who previously made a payment and are located under Customers section.
Review under Manage Customer document.
If selection is Add new customer proceed to enter the Customer Name and Email. If selection was
existing customer proceed to next step.
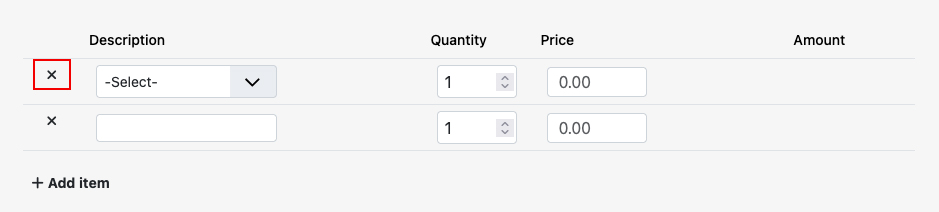
Click Select Product drop down in the Item field. Click existing product if any have been added to
Product Catalog or select Add New Product to proceed to enter data directly into form.
Enter Item name of product/service, Qty by click the up and down arrows, Price of item, to add
product to Product Catalog you can click box for Add item to product catalog. Next, click
Save and Add Other if additional items need to be added, else click Save to complete adding
product(s)/service(s).
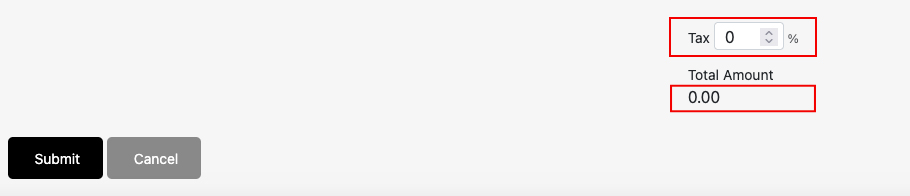
Finally enter Discount (dollar amount) if any, Tax (percent ex. 8.25). Click Submit to send invoice.


Note: If the invoice recipient accidentally click Pay Now on the invoice after already paying, they will see the
receipt rather than the invoice.

Click Starting & Ending Date boxes to select your date range then click Search to view transactions.
Scroll down to Pending Transactions to locate the transaction you would like to void. Click Trans #
with blue color (ex. 275 image below) to view Transaction Details.
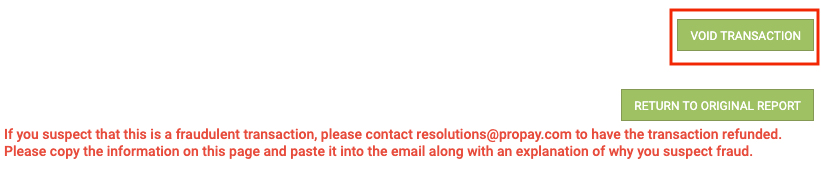
Proceed to scroll to the bottom to view Void button (button with red box around), then click to
Void Transaction.
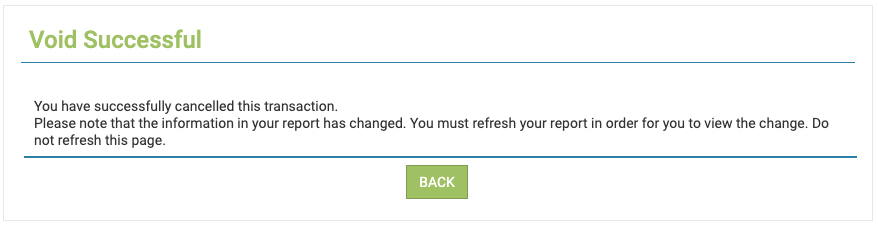
Next, if successful you will see the following message:
Start by clicking Starting & Ending Date boxes to select your date range then click Search to
view transactions.
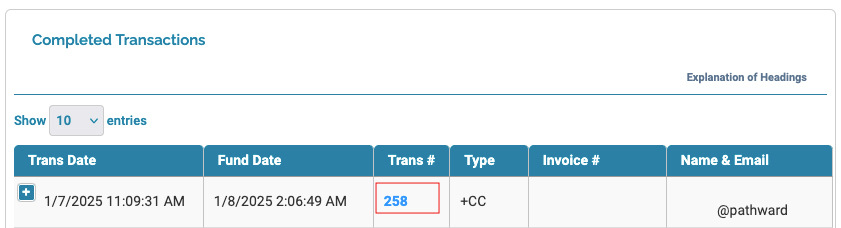
Scroll down to Completed Transactions and click Trans # (ex. 258 image below) to view
Transaction Details.
On Transaction Details scroll to the bottom. Enter Refund Amount followed by clicking
on Refund Transaction button.
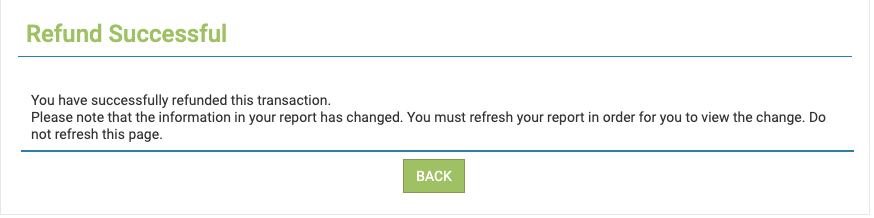
Finally the following message will display:
Click My Profile in main menu, scroll down to Account Management.
Click Employee link to access Employee Management screen.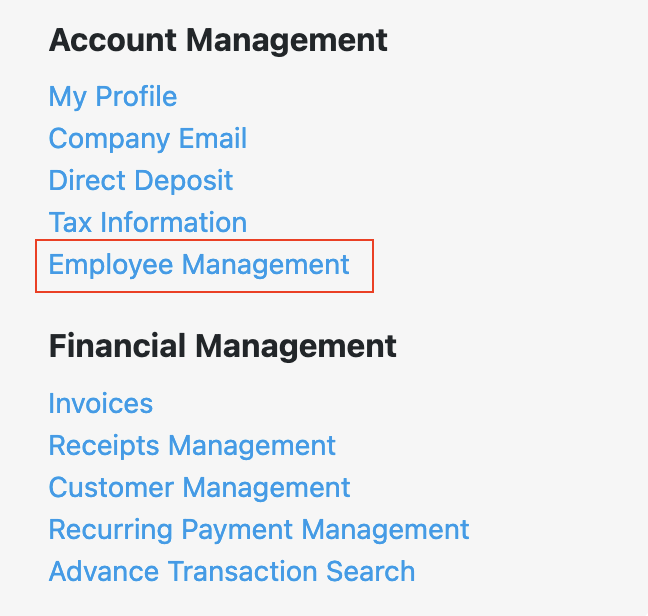
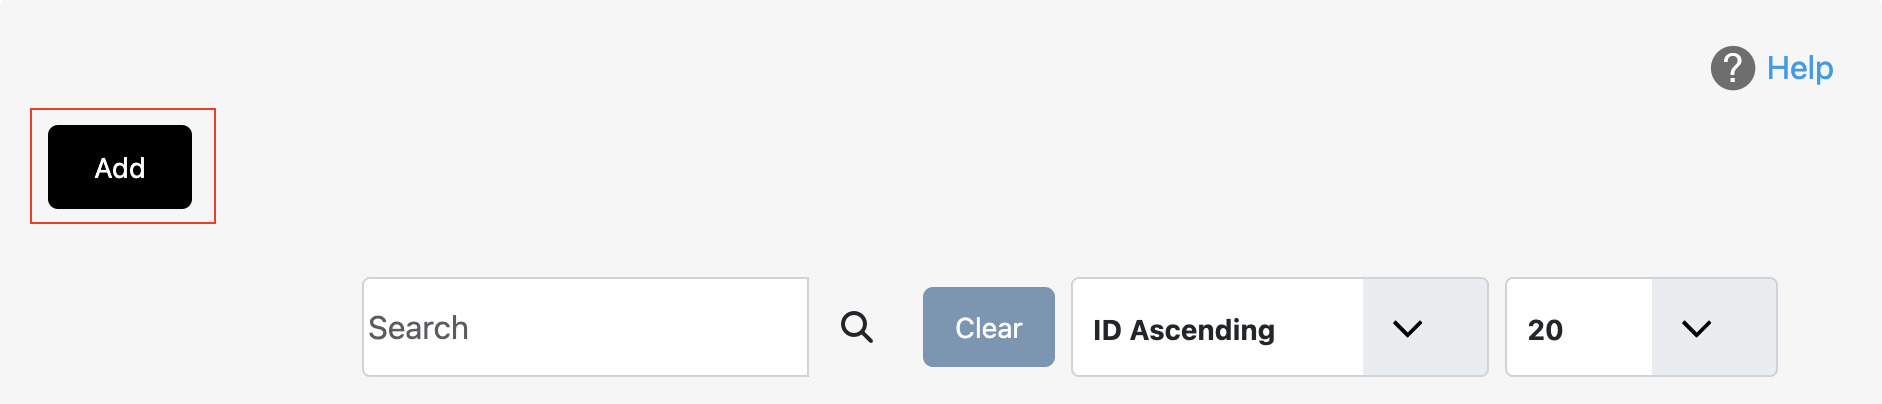
Click Add button to access Add/Edit Employee screen.
Enter employee Name, Email, and Password.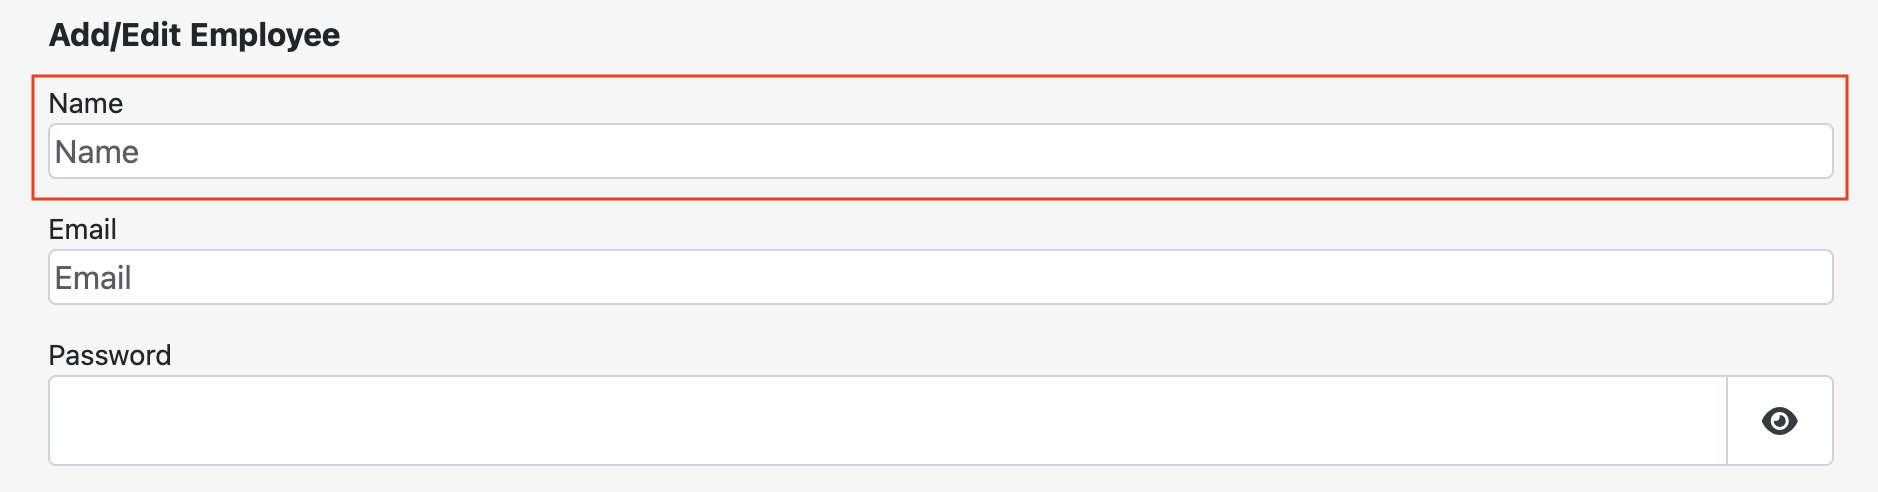
Next, click Employee Permission drop down to assign the type of permission for Employee, click
Submit to finish.
Note:
Limited Access can only process payments and submit invoices.
Full Access will have full access to portal features as owner.


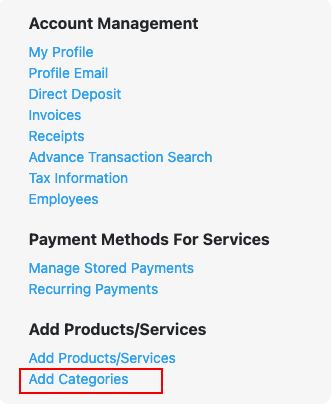
Click Invoices in main menu, scroll down to Add Products/Services.
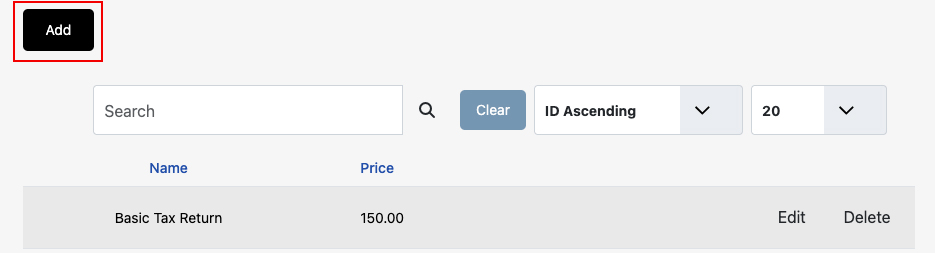
Click Product Catalog link to access Product Catalog screen.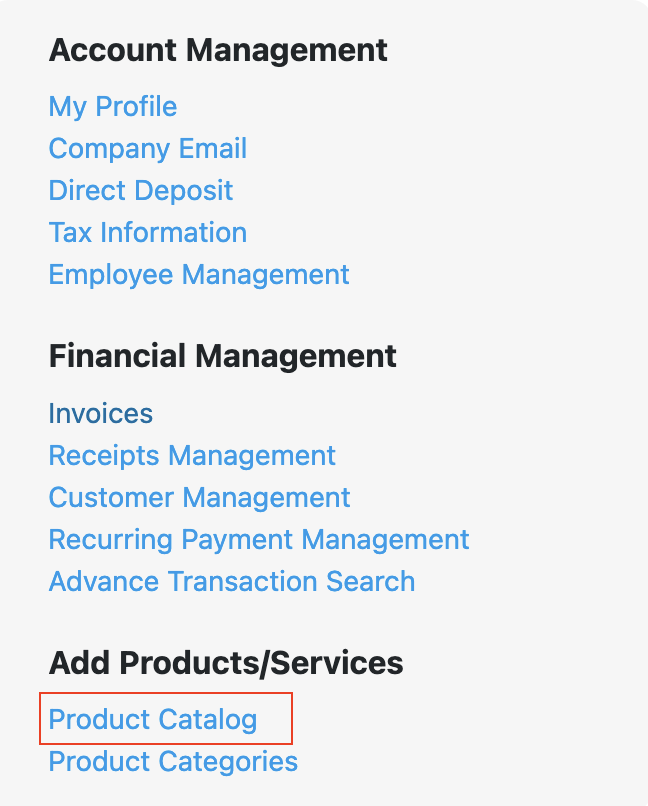
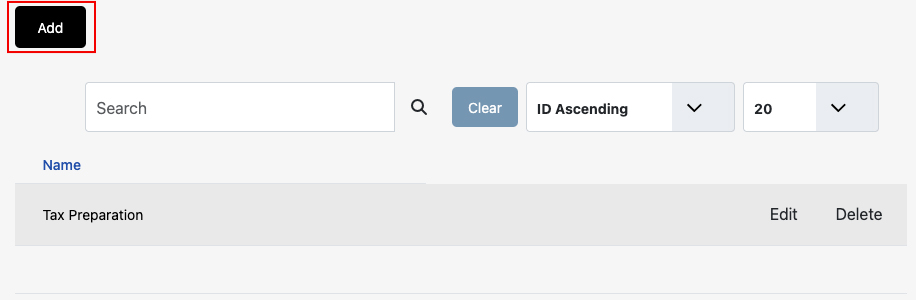
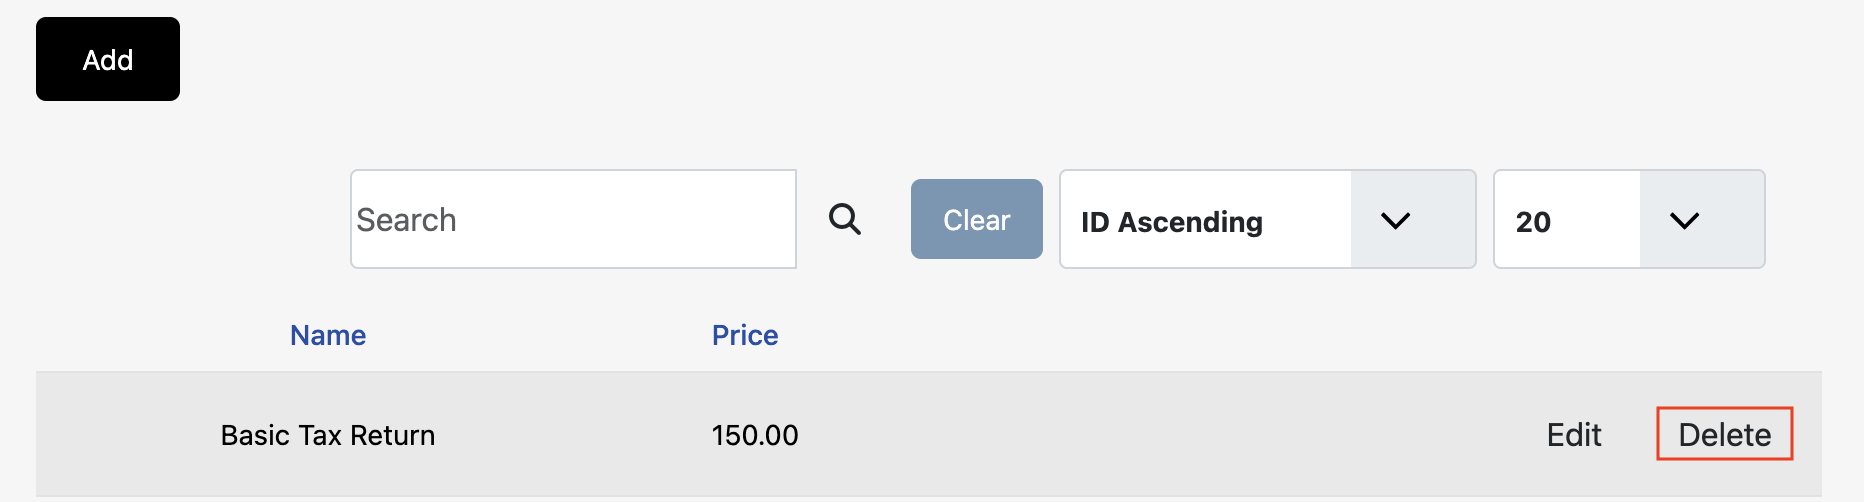
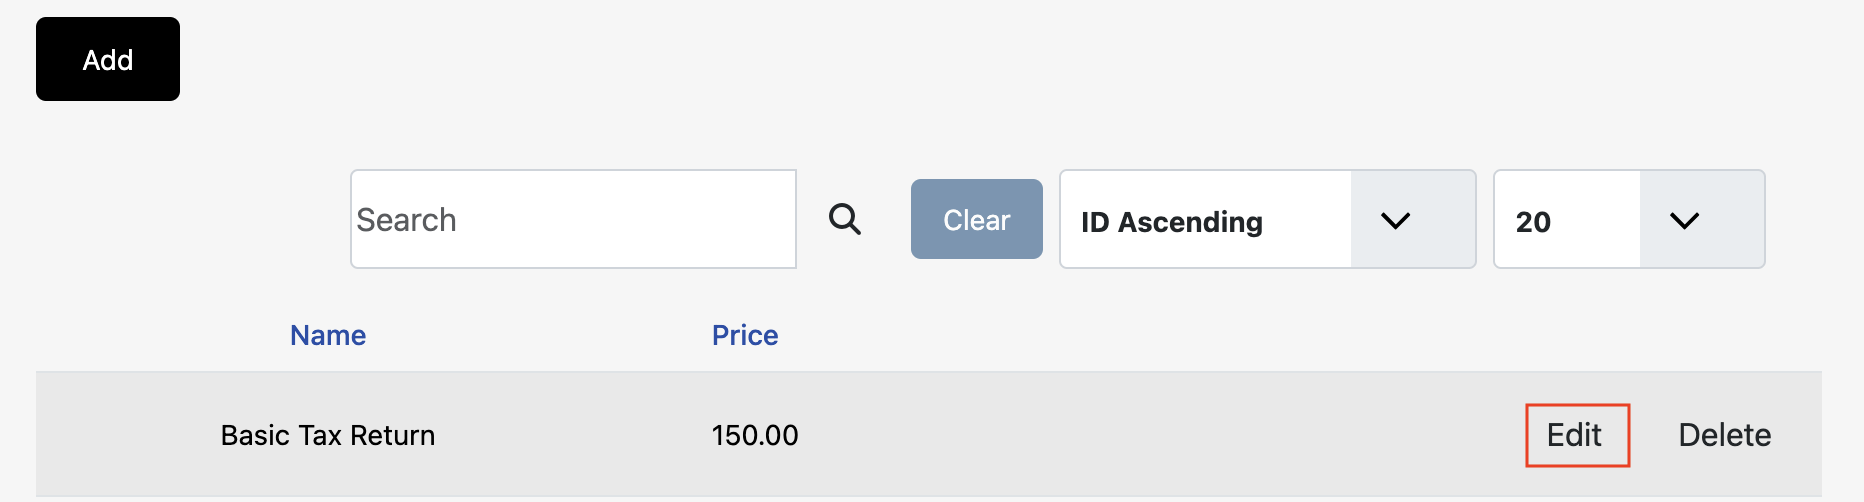
Click Add button to access Add/Edit screen.
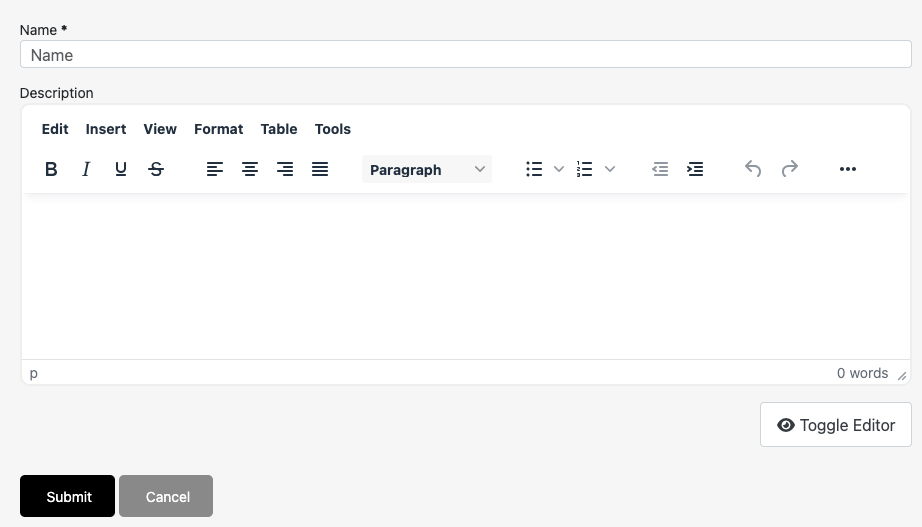
Enter product/service Name and Price, click Submit button to complete.
Note: Products can be added from Invoice, review Invoice document for details.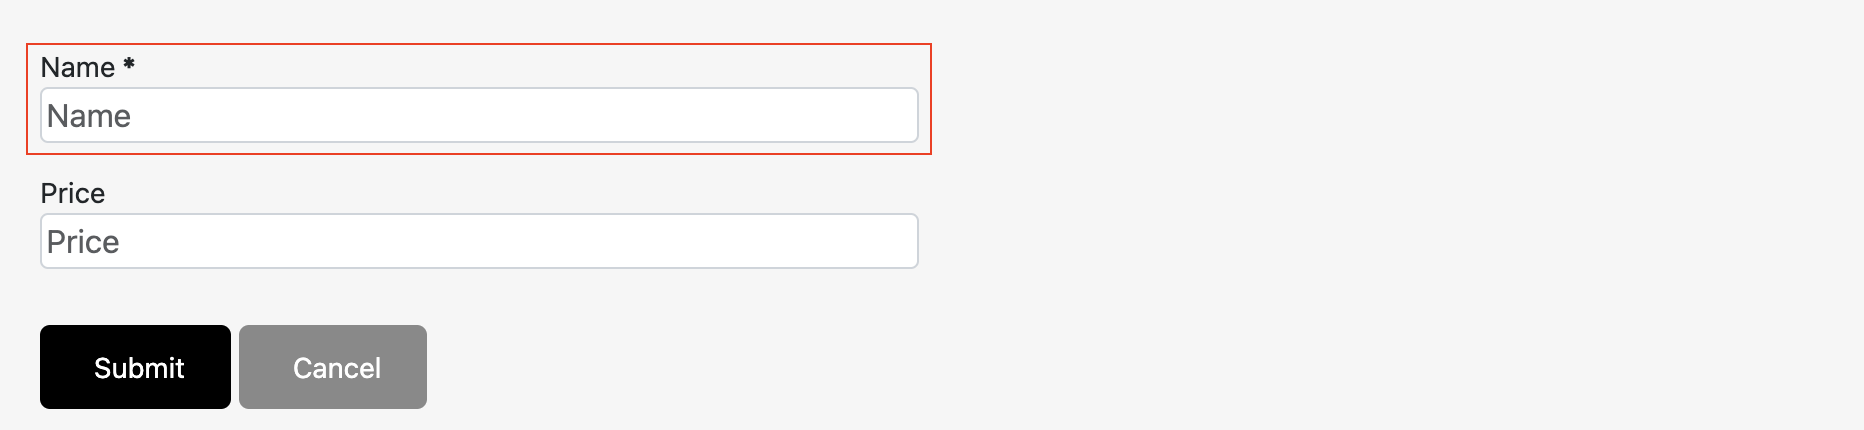
Click Process Payment on main menu.
If existing customer exist, click Select Customer and click Name, else skip this step.
Note: Existing customers are made up of customers who have made a payment in the portal. These
customers are automatically added to Manage Customer located in the side menu under My Profile.
Enter Amount (ex. $125.00), Invoice Number (optional), Name, Email and Description (optional) then
click Process to proceed with Credit/Debit Card payment.
Note: If testing minimum is $1.17+.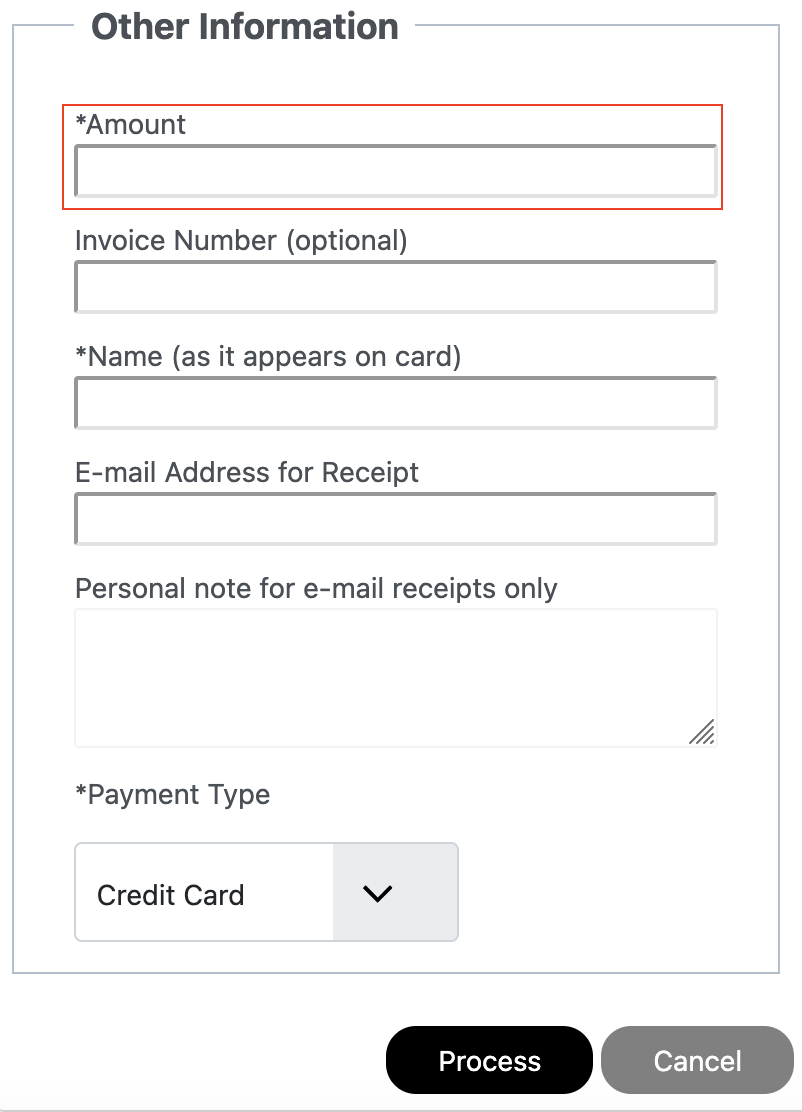
Next, Order Information displays charge Amount. Enter Name, Card Number, Expiration Date,
CCV, Description (optional), Address, City, State, and Postal Code. Finally click Process to
process payment.
Note: All information must match credit/debit card billing information. 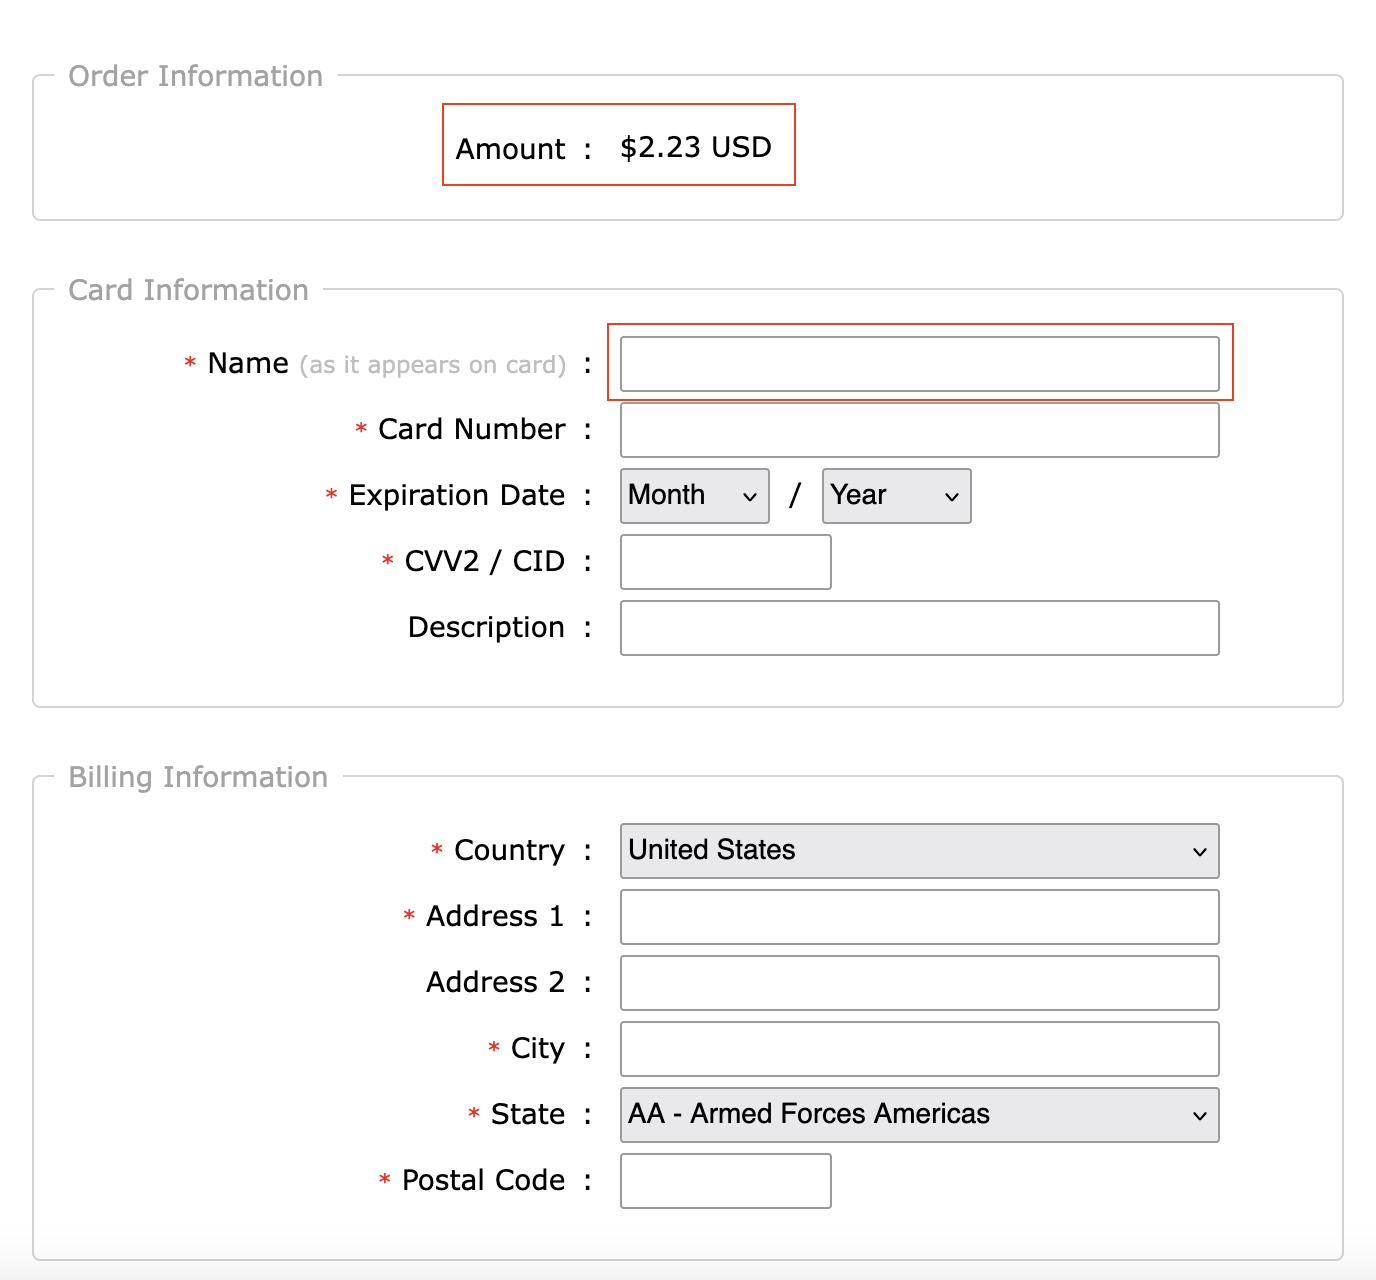
Click Process Payment on main menu.
If existing customer exist, click Select Customer and click Name, else skip this step.
Note: Existing customers are made up of customers who have made a payment in the portal. These
customers are automatically added to Manage Customer located in the side menu under My Profile.
Enter Amount (ex. $125.00), Invoice Number (optional), Name, Email and Personal Note (optional),
click Payment Type and select Bank Account for ACH payment, then click Process to proceed.
Note: If testing minimum is $1.17+.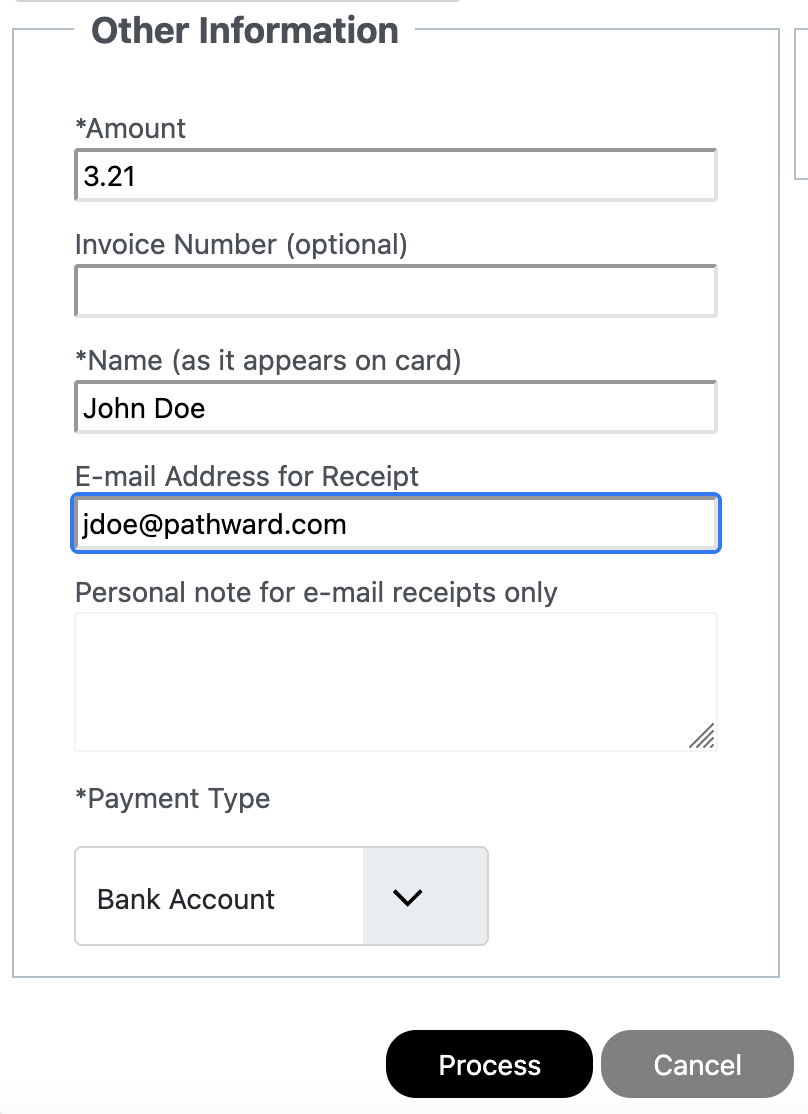
Next, Order Information displays charge Amount. select Account Type, Routing Number,
Account Number. Finally click Process to process payment. 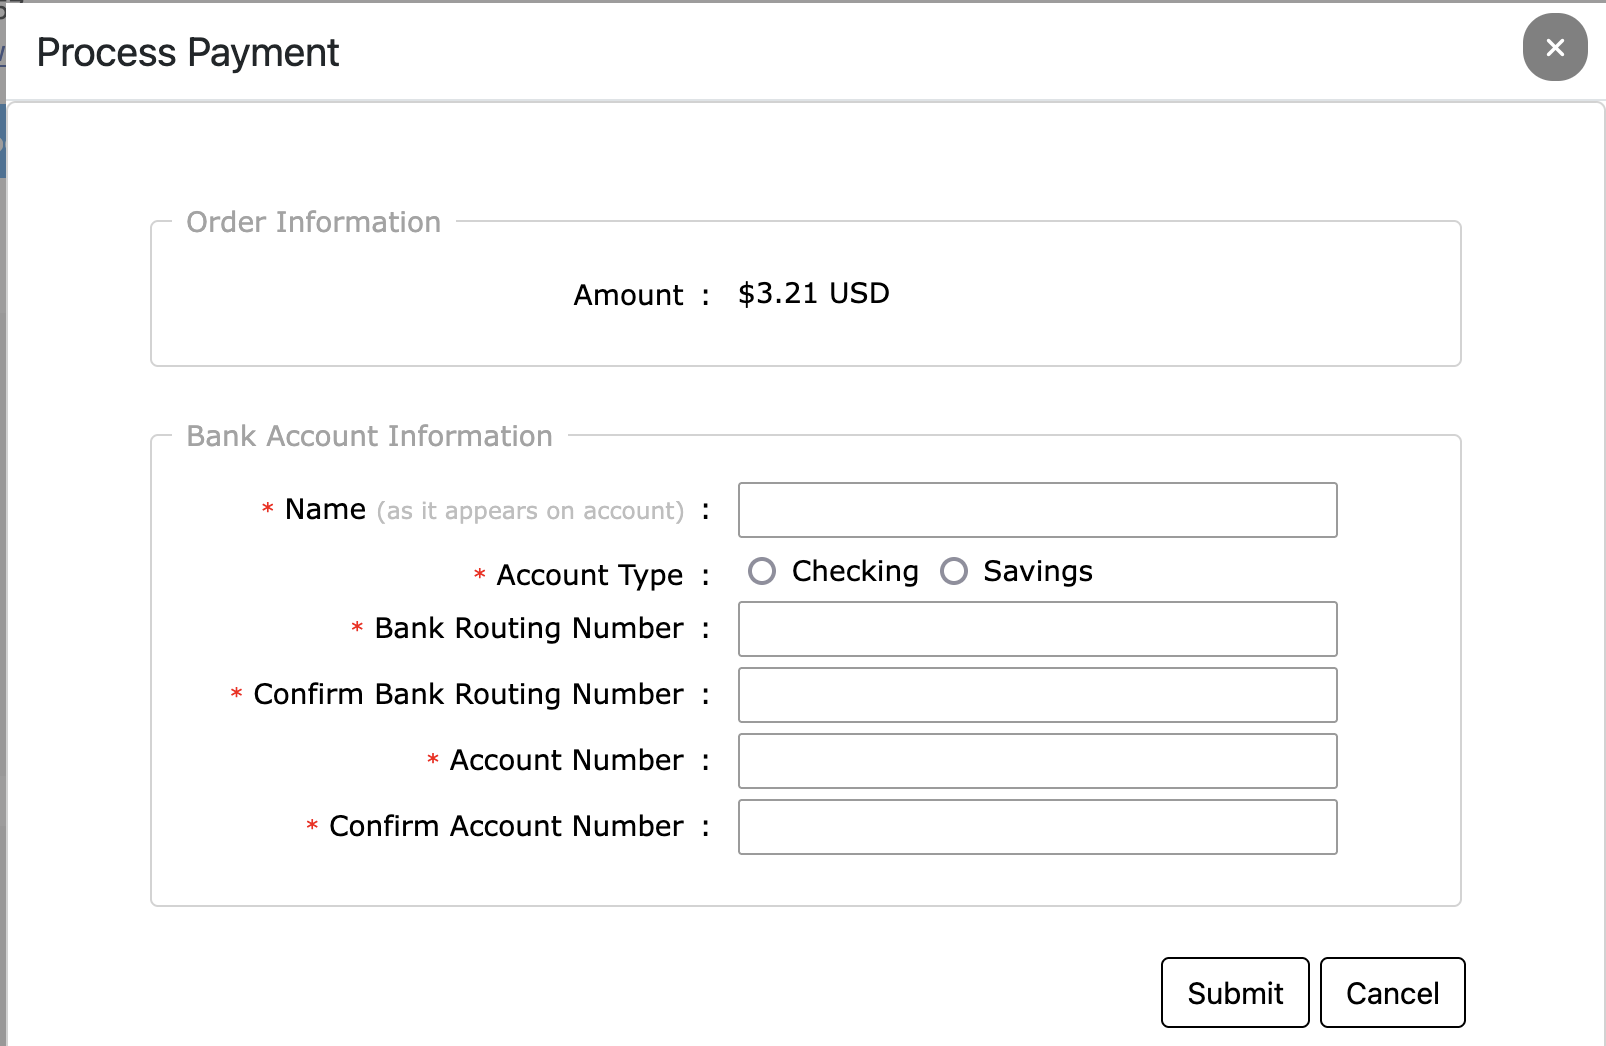
Click Process Payment on main menu.
Start on Other Information by entering the initial payment Amount, Name and Email of Customer.
Then click Set Recurring Payment box.
Note: Select Payment Type for Credit/Debit Card or Bank Account (ACH)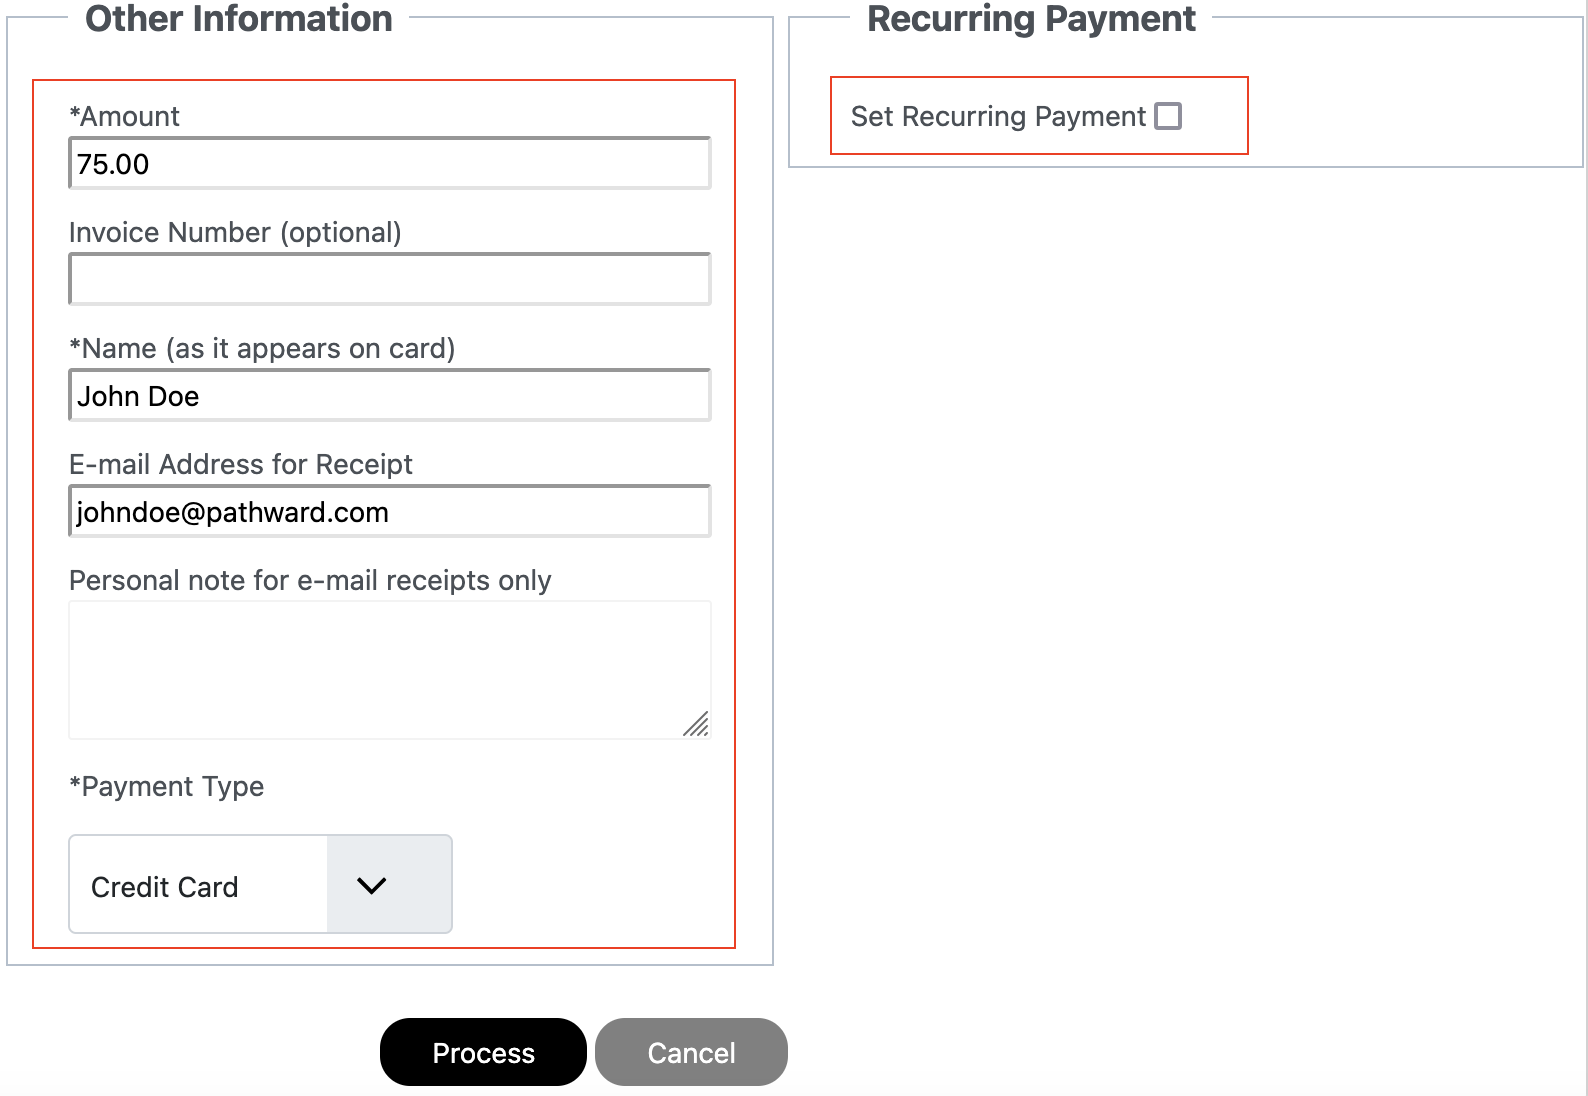
Next, enter the Payment Amount. Click Calendar Icon to select the Start Date of the next payment.
Click Calendar Icon to select End Date for last payment. Click Frequency drop down and select how
often the payments will be made. Click Process to proceed with initial payment.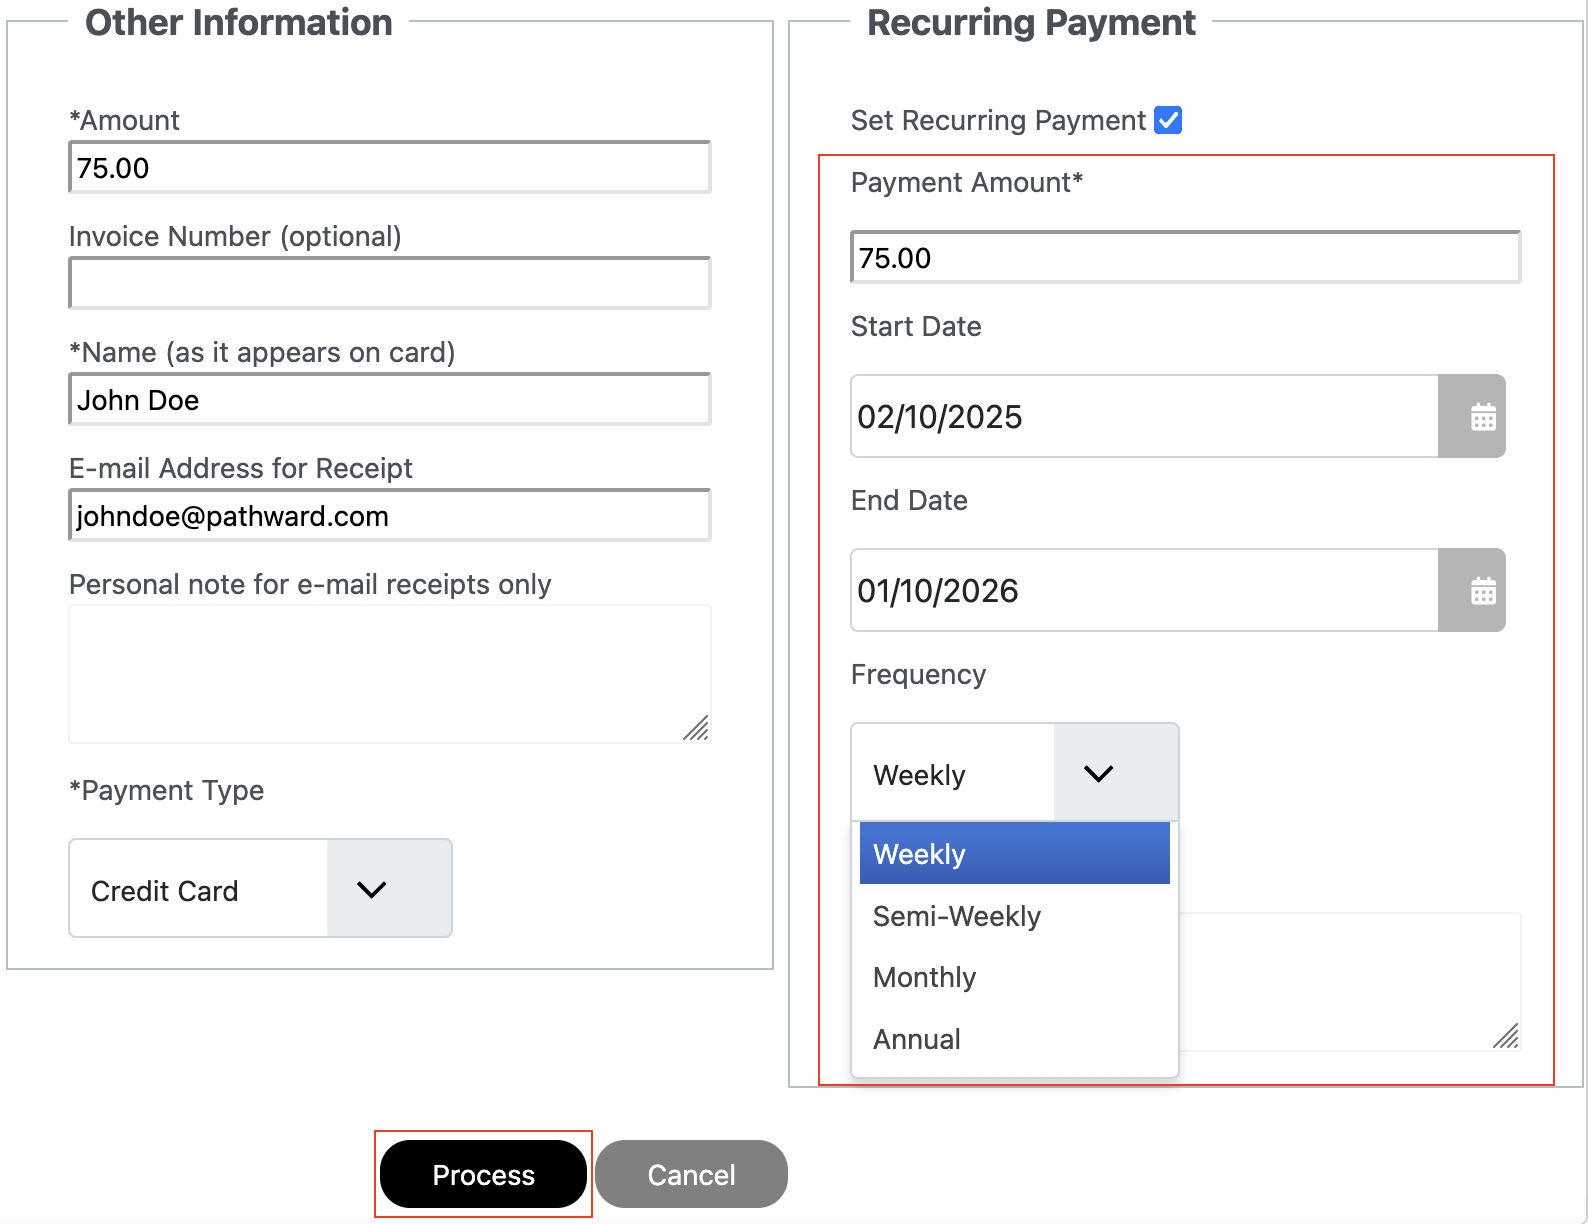
If initial payment is Credit/Debit Card, else if Bank Account (ACH) skip to step 5.
Order Information displays charge Amount. Enter Name, Card Number, Expiration Date,
CCV, Description (optional), Address, City, State, and Postal Code. Finally click Process to
process payment.
Note: All information must match credit/debit card billing information.
On payment a receipt will be sent automatically to the customer's email entered, and a screen
with receipt view will display to Download a copy if needed. Else click Circle with X to close.
Note: A copy or Receipt can be found under side menu under Account Management. View Receipt
link document for more information.
Next, Order Information displays charge Amount. select Account Type, Routing Number,
Account Number. Finally click Process to process payment.
On payment a receipt will be sent automatically to the customer's email entered, and a screen
with receipt view will display to Download a copy if needed. Else click Circle with X to close.
Note: A copy or Receipt can be found under side menu under Account Management. View Receipt
link document for more information.
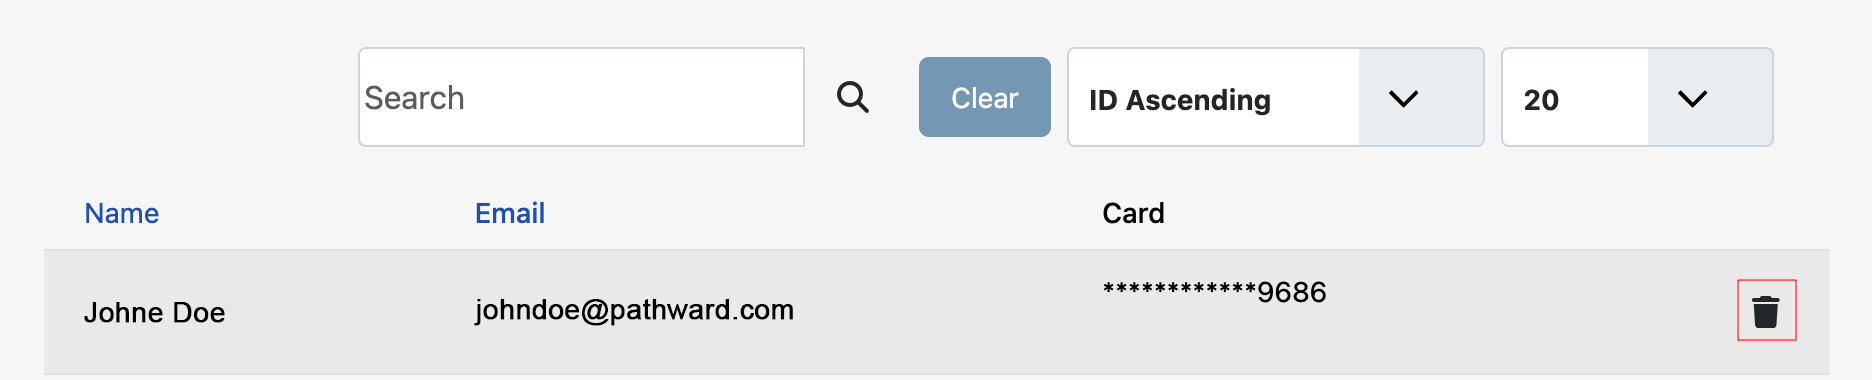
Click Receipts Manager on main menu.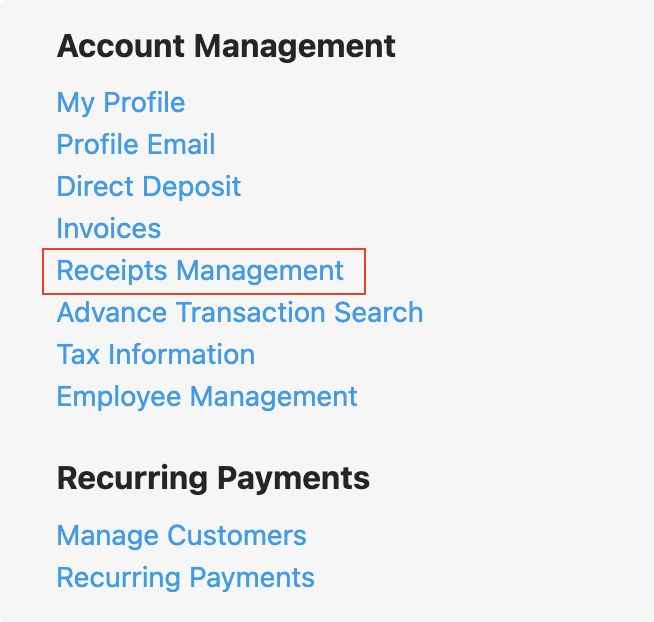
Receipts Management will display the Customer, Customer's Email, Amount charged. To View, Print,
Download existing Receipt click on the customer name under Customer. To delete an receipt click the
Trash Icon. To email a copy to recipient again click Re-Send (this will send to the existing email).
Note: Click view PDF to download and email to a different email address if needed. 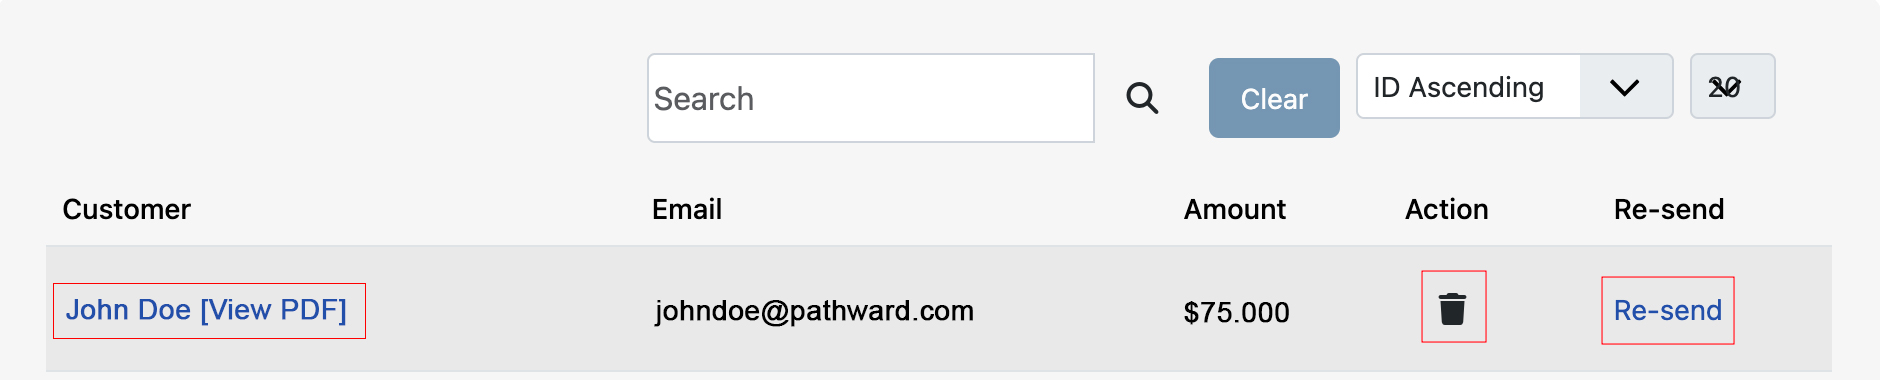
Click Customer Management on main menu.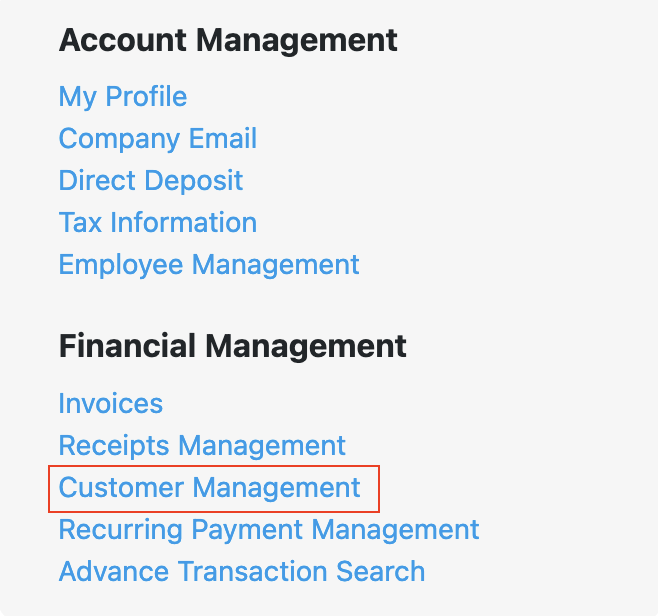
Customer Management will display customers that have been charged through the Merchant Portal.
The Customer Management allows you to delete data if no longer needed.
Note: Stored customers will display on Select Customer located on Process Payment, which allows the
the account to be selected to charge existing Credit/Debit Card or Bank Account (ACH). Stored customers
can also be used under Select Payer on Invoice section.